Natasha Siebert | June 10, 2014
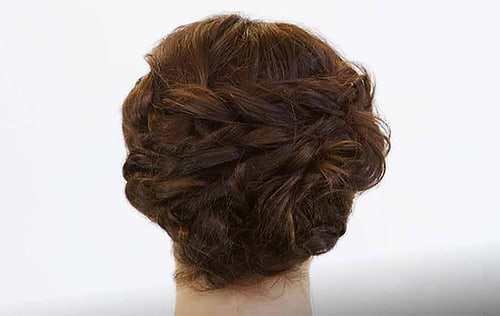
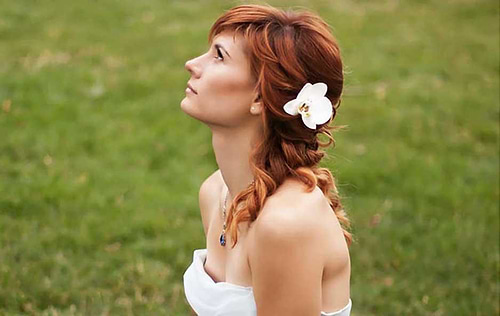
Wedding Hair Tutorial: The Romantic Twist - Part 4 of 4

Image by Madison Reed
This style works best on medium length hair, with either straight or wavy texture. The delicate curls twisted back and pinned really showcase your hair color.
This is a more advanced hair style which may take a little bit longer to execute, but is totally worth the time.
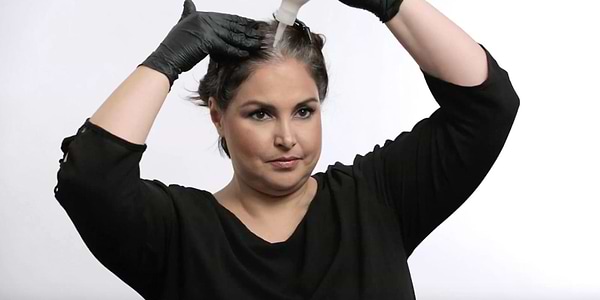
Here’s our step-by-step tutorial for this elegant style, demonstrated by Jess–one of the Professional Colorists on our Color Crew. (Check out the written tips at the bottom of this post!)

1. Start by taking 2-inch vertical pieces and barrel curling them away from your face.
2. Barrel curl your entire head. This will give your hair texture and shine, and help the style to hold up.
3. Next take three 2-inch by 1-inch horizontal sections and gently back comb them. Start in the middle at the very top of your head and work your way down to the crown (about 3 inches from the top of your head).
4. Next take a 3-inch square section above your ear on the left side of your head. Bobby pin it into place and make sure it’s secure.
5. Then take a 1-inch to 2-inch section directly in front of that square section and twist it, bobby pin it into place behind the square section. Next take a 1-inch to 2-inch section directly in back of the square section and bobby pin to the front of the square section, weaving over the previous section.
6. Keep repeating step 5 until the sections of hair are twisted over each other to right above the ear.
7. There will be loose tendrils from your pinnings–take these and loop the hair tendrils to make loose circles with these pieces of hair. Bobby pin the circles until they feel secure.
8. Continue making these circles right over the ear and pinning into place.
9. On the right side of your head make the same 3-inch square and bobby pin into place. Also take all the hair from the temple and twist back pinning directly below the 3-inch square.
10. Take a 3-inch square at the back top of your crown and pin it into place with bobby pins.
11. This is what the style should look like at this point. Start gathering the remaining hair to bring from the left side to the right side.
12. Keep making circles with remaining hair and twisting into place. Secure with bobby pins. There may be loose tendrils from pinning. Take these ends and loop into circles, secure in place.
Don’t worry about it being perfect. If a tendril is loose, just loop it around into a circle and pin.
You are going to look beautiful on your special day!
Photos by: Natasha Siebert
Find Your Perfect Shade
Take our 2 minute quiz to get your colorist-approved hair color match!
Take the quiz
Get Free Shipping
Plus exclusive promotions, hair tips and info about events near me when you subscribe!
Related Articles


Trending Articles