Kimberly Caldwell | August 10, 2017
Hairstyles for Dirty Hair with Kimberly Caldwell
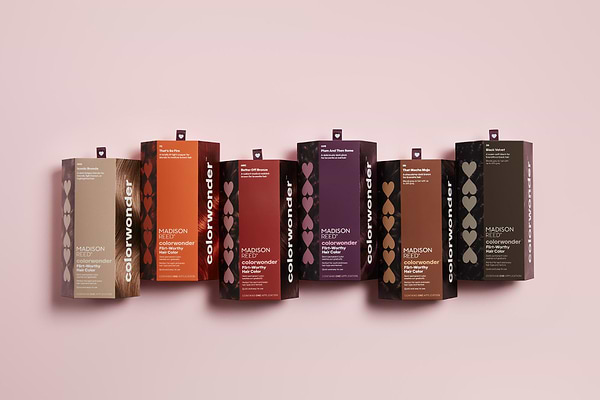
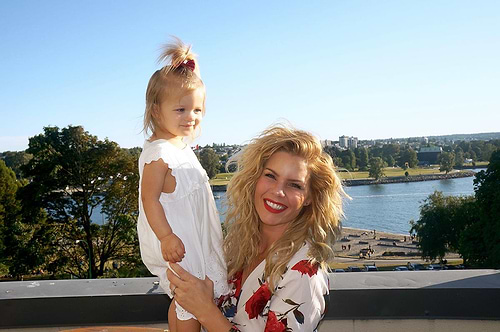
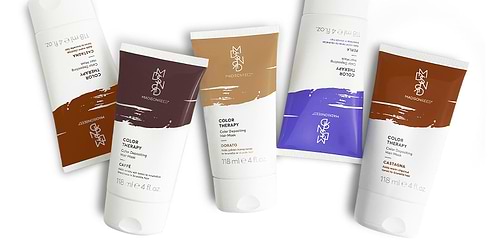
Image by Madison Reed
Can you believe this is three-day-dirty hair and achieved in less than five minutes?!
Dirty hair can be a good thing! I’m a mom on-the-move, and I don't have the time, the luxury, or the patience to wash, dry, and style my hair every single day! Who does? Well, just call me Dirty Hairy because I have mastered how to make 3-day hair look fresh and clean. With my dirty-hair-day schedule, you can always make it a good hair day.
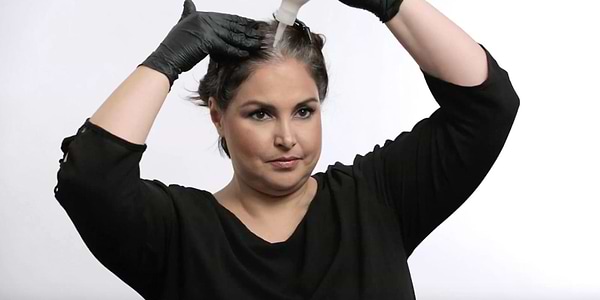
Of course you have to kick things off with clean hair, so nourish your locks with some keratin, argan oil, and ginseng root extract by using Color Protecting Shampoo and Conditioner. Plus use a light leave-in conditioner and a couple drops of Style and Tame, formulated with heat protection and for mega-manageability. This is where your time and effort will really make the difference for you to be struggle-free for the next 72 hours.

Day 1: Straight Up Now Tell Me! (Thanks Paula)
You can start blow drying right away, but I like to wait until my hair air-dries 75% of the way before applying heat. Use a round brush and a paddle brush to smooth hair while blowing drying. I always like to whisk through with a quick flatiron to achieve that shiny, sleek look.
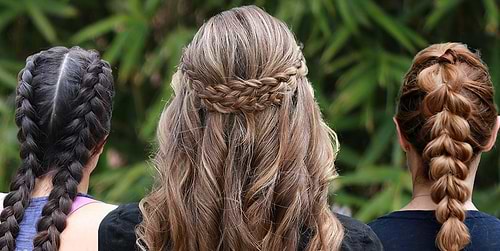
Day 2: Curly Girly
Use a light hairspray, one that you can brush through. With a one inch barrel iron, take sections and wrap away from your face on each side. Let the curls set before using your fingers to separate the tendrils. For a major extension and an added dirty day, you can always do a polished high-fashion pony. Simply take a small piece of hair from underneath the ponytail, twist around the rubber band and pop in a pin for a finished look.
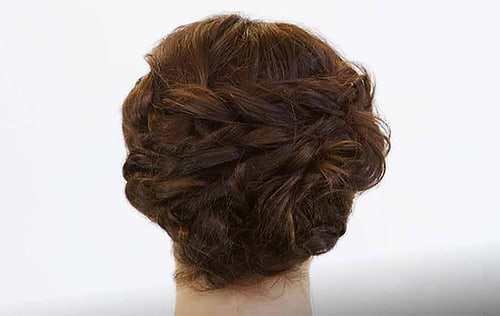
Day 3: Queen Crown!
You have made it this far–now is your time to take a few minutes to master this braid. I swear this will be major hair ammo to keep in your back pocket when you simply don't have the time to hit refresh. I get more compliments on my day 3 hair than I do on day 1 and day 2 combined. Your hair can never be too dirty for the crown. Actually the dirtier the better. Ok, let's nail this tutorial together, sister. Grab some bobby pins and clear rubber bands. Part your hair into two sections. Start with two pieces at the very tip top and add a third piece each time to get your braid started and then add another small piece from the opposite side. Repeat until you get to your neck and then just simply braid down to the end. Instead of a normal french braid, I find it a lot easier and durable to do an upside down french braid. Instead of going over with your added pieces, you just go under. Sounds harder than it is...trust me. I twist my hair up in less than five minutes with my daughter yanking on me. After finishing each braid, pop a clear rubber band on the ends and criss cross the ends of the braids back at the nape of your neck. Use bobby pins to secure on each side and to tuck in any extra hairs poking out. Then find your throne because you have just mastered the Queen Crown.
Need more how to? How's this: I made a video showing you how...
Madison Reed is all about empowering women and taking beauty into your own hands so when people say, "who did your hair?" whether it's your color or your style, you can simple say "I did!"
High five girlfriend. Dirty hair, don't care!
Cheers to many good hair days ahead.
Kimberly
Find Your Perfect Shade
Take our 2 minute quiz to get your colorist-approved hair color match!
Take the quiz
Get Free Shipping
Plus exclusive promotions, hair tips and info about events near me when you subscribe!
Related Articles


Trending Articles